How To
2 Ways To Connect Your iPad To An External Monitor
All you need to know about connecting your iPad with an external monitor using different methods.
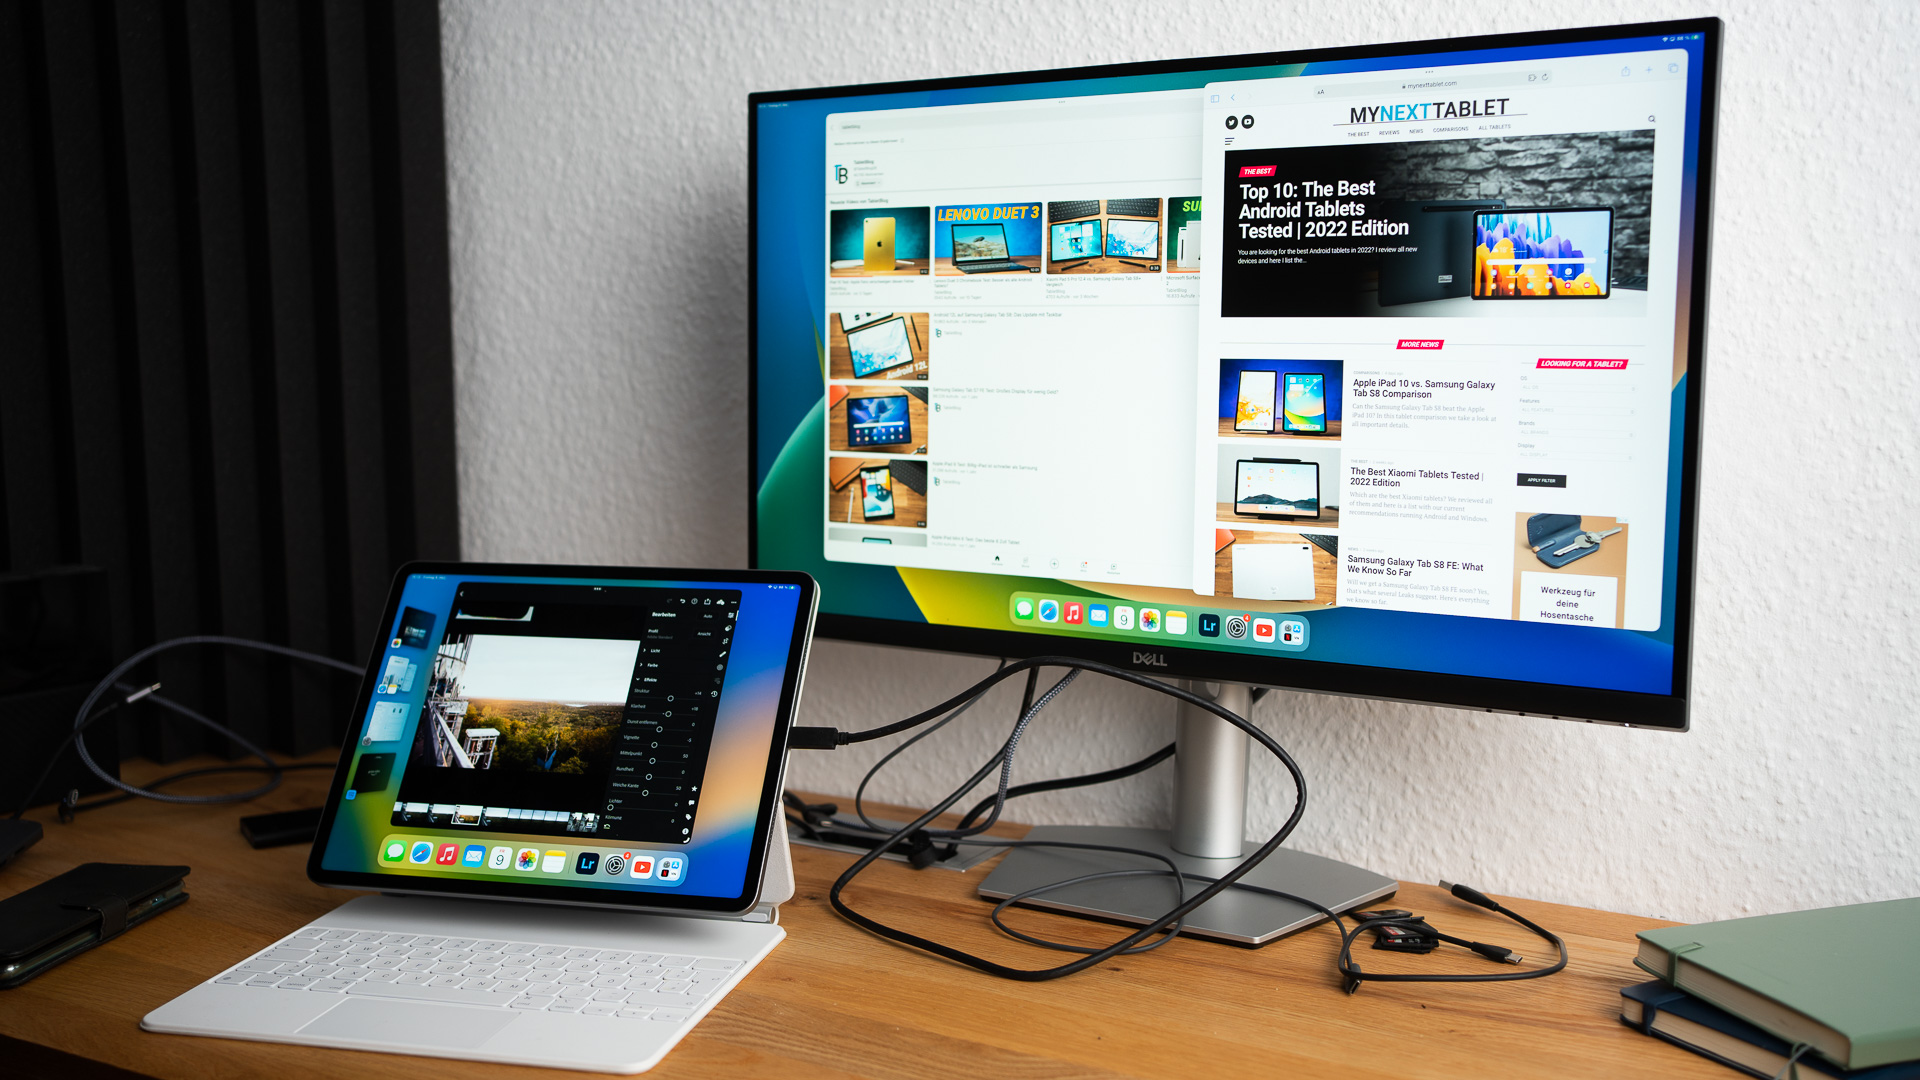
Connecting your iPad to external displays, be it a computer monitor, television, or projector is an easy process. In this guide, we’ll explore how to connect an external monitor to an iPad in a few steps. It’s worth noting that the method you use to connect your iPad to an external display depends on your iPad model and the type of display.
How to connect an external monitor to iPad: Quick Overview
- You need to get a compatible adapter or cable like Lightning Digital AV Adapters, Lightning to VGA Adapters or USB-C Display AV Adapters to connect your iPad to an external monitor.
- Once connected, you can also use iPad’s Stage Manager feature to have different screens on both displays
- You can also opt for AirPlay option to wirelessly connect an external display to your iPad
How To Connect An External Monitor To iPad
Before diving into the specifics, it’s important to note that the method you use to connect your iPad to an external display depends on your iPad model and the type of display you have. Here are the general steps to follow:
Step 1: Find Your iPad’s Connector Type
Apple has transitioned from Lightning connectors to USB-C and Thunderbolt/USB 4 connectors in its iPad lineup. You’ll need to know which type your iPad uses to select the appropriate adapter.
Step 2: Get the Right Cable or Adapter
Depending on your iPad’s connector type and the display’s input ports (HDMI or VGA), you may need to purchase a compatible adapter or cable. Apple offers Lightning Digital AV Adapters, Lightning to VGA Adapters, USB-C Display AV Adapters, and USB-C VGA Multiport Adapters.
Step 3: Connect the iPad to the Display
- For USB-C/Thunderbolt iPads: Connect one end of the cable or adapter to the iPad’s charging port and the other end to the display’s appropriate port (USB, Thunderbolt 3, HDMI, or VGA).
- For Lightning iPads: Connect the adapter to the iPad’s charging port and attach an HDMI or VGA cable to the adapter. Connect the other end of the HDMI or VGA cable to the display.

Step 4: Configure the Display
Switch to the correct video source on the external display. Consult your monitor’s manual if you’re unsure how to do this. Once done, you have to choose how you want your iPad to display the setup on the external monitor.
When you connect your monitor to your iPad, it will display everything exactly as it appears on your iPad screen. If you use apps like YouTube, the video will automatically play on the connected monitor through AirPlay. If you use productivity apps like Keynote, your monitor will be recognized as a second display and will work accordingly.
You can also use Stage Manager if you have an iPad Pro 11-inch (3rd gen or later), iPad Pro 12.9-inch (5th gen or later) or iPad Air (5th gen) to have different content displayed on both the iPad and the monitor.
Also Read: How to Connect Keyboard to Your iPad
Connecting to Apple Studio Display or Pro Display XDR
If you own an Apple Studio Display or Pro Display XDR, connecting it to your iPad is even easier. These displays automatically turn on when plugged into power and connected to supported iPad models using the Thunderbolt cable included with the display. Plus, your iPad charges while connected.
Using iPad’s Stage Manager for External Display
If you have an iPad Pro 11-inch (3rd gen or later), iPad Pro 12.9-inch (5th gen or later) or iPad Air (5th gen) you get an important feature that you can use to your advantage. Apple Stage Manager is a feature that allows you to connect supported iPad Pro and iPad Air models to an external display with up to 6K resolution. Here’s how to use it:
1. Set Up Your iPad: Place your iPad in landscape orientation and connect it to the external display.
2. Access Control Center: Swipe down from the top-right corner of your iPad’s screen to open the Control Center.
3. Activate Stage Manager: In the Control Center, tap the Stage Manager button and the setup will start on its own.
How to AirPlay Your iPad Display to Your Mac or Apple TV
To mirror your iPad’s display without any additional setup, you can use AirPlay mirroring, follow these simple steps:
- Open the iPad Control Center: Swipe down from the top right corner of your iPad’s screen to access the Control Center.
- Tap the Screen Mirroring Icon: In the Control Center, you’ll see a list of options, including brightness control, volume control, and more. Look for the “Screen Mirroring” icon
- Select Your Target Display: A list of available devices for screen mirroring will appear. This list includes your Mac, Apple TV, and other AirPlay-supported displays, such as those from Samsung or LG. Tap on the device you want to mirror your iPad’s screen to.
Troubleshooting iPad AirPlay Connection Issues
While the process is usually straightforward, you may encounter some issues when attempting to AirPlay your iPad display to your Mac or Apple TV. Here are some troubleshooting steps to resolve common problems:
Ensure Both Devices Are on the Same Wi-Fi Network
For AirPlay to work, both your iPad and the receiving device (Mac, Apple TV, or AirPlay-supported display) must be connected to the same Wi-Fi network.
Turn on AirPlay on the Receiver Display
- For Mac: Go to “System Settings,” then navigate to “General” and select “AirDrop & Handoff.” Here, enable “AirPlay Receiver” and set “Allow AirPlay for” to “Everyone.” This should make your Mac visible as an AirPlay option on your iPad.
- For Apple TV: In your Apple TV settings, go to “Settings,” then “AirPlay and HomeKit.” Turn on “AirPlay” and configure “Allow Access” settings as needed.
- For Third-party AirPlay TVs: Depending on your TV model, you may need to enable AirPlay from the TV settings or open an AirPlay receiver app on the smart TV.
Restart Devices
If you’ve followed the above steps and still encounter issues, try restarting your iPad, Mac, or Apple TV and attempt the AirPlay connection again.
Conclusion
We hope this guide helps you understand how to connect an external monitor to iPad. Whether you have a USB-C, Lightning, or Thunderbolt iPad, Apple provides the necessary adapters and cables to facilitate these connections. Plus, Stage Manager takes your multitasking game to the next level, offering seamless control over your extended workspace.
Leave a Reply


The Best Amazon Fire Tablets Compared | 2024 Edition
If you're in the market for the best Fire tablet, we've got your back! Here's a comprehensive comparison of all...


Top 7 Best Tablets Under $500 | 2024 Edition
Looking for the best tablet under $500? We test almost every tablet and here are our test winners in this...


Best Huawei Tablets: Why I Think You Shouldn’t Get One In 2024
Considering the US embargo that led to the lack of Google support, is it a wise decision to purchase a...


11 Best Tablets With 5G, 4G LTE & SIM Card Slot in 2024
Which are the best tablets with 5G, 4G LTE and SIM card slot? I'm reviewing almost every tablet and here...


11 Best Gaming Tablets for Playing Games Reviewed | 2024 Edition
Which are the best gaming tablets for gamers? We test every new device and try out many games. Here are...
-

 The Best6 months ago
9 Best Tablets With Stylus Pen For Drawing & Writing | 2024 Edition
-

 The Best5 months ago
Top 10 Best Tablets with a Keyboard | 2024 Edition
-

 The Best4 months ago
Top 15 Best Android Tablets Based On Real Reviews | 2024 Edition
-
The Best4 months ago
11 Best Tablets With 5G, 4G LTE & SIM Card Slot in 2024
-

 The Best4 months ago
6 Best 8-Inch Mini Tablets Review & Comparison | 2024 Edition
-

 The Best5 months ago
Top 3 Best Windows Tablets You Can Buy Today | 2024 Edition
-

 The Best6 months ago
The 8 Best Samsung Tablets: Our Big 2024 Comparison
-

 The Best6 months ago
Top 7 Best Large Screen Tablets Tested | 2024 Edition
Pingback: How to Use Your iPad as a Second Monitor