How To
How to Right-Click on iPad: Accessing More Options
Discover how to right-click on iPad and unlock this hidden functionality, making multitasking effortless with a simple touch-and-hold gesture
If you’re used to using your laptop, you may catch yourself tapping away at your iPad and wishing for the good old “right-click” functionality. Don’t worry! We know just what to do. Simply long-press on an app or any area on your screen to reveal context-specific options.
Tapping into More Options: The iPad’s Right-Click
Although sleek and intuitive, the iPad does not come with a mouse or a traditional right-click option. However, Apple has ingeniously integrated a similar function that’s just as easy to use.
Here’s how:
- Locate the item you want to interact with on your iPad screen.
- Tap and hold your finger on it.
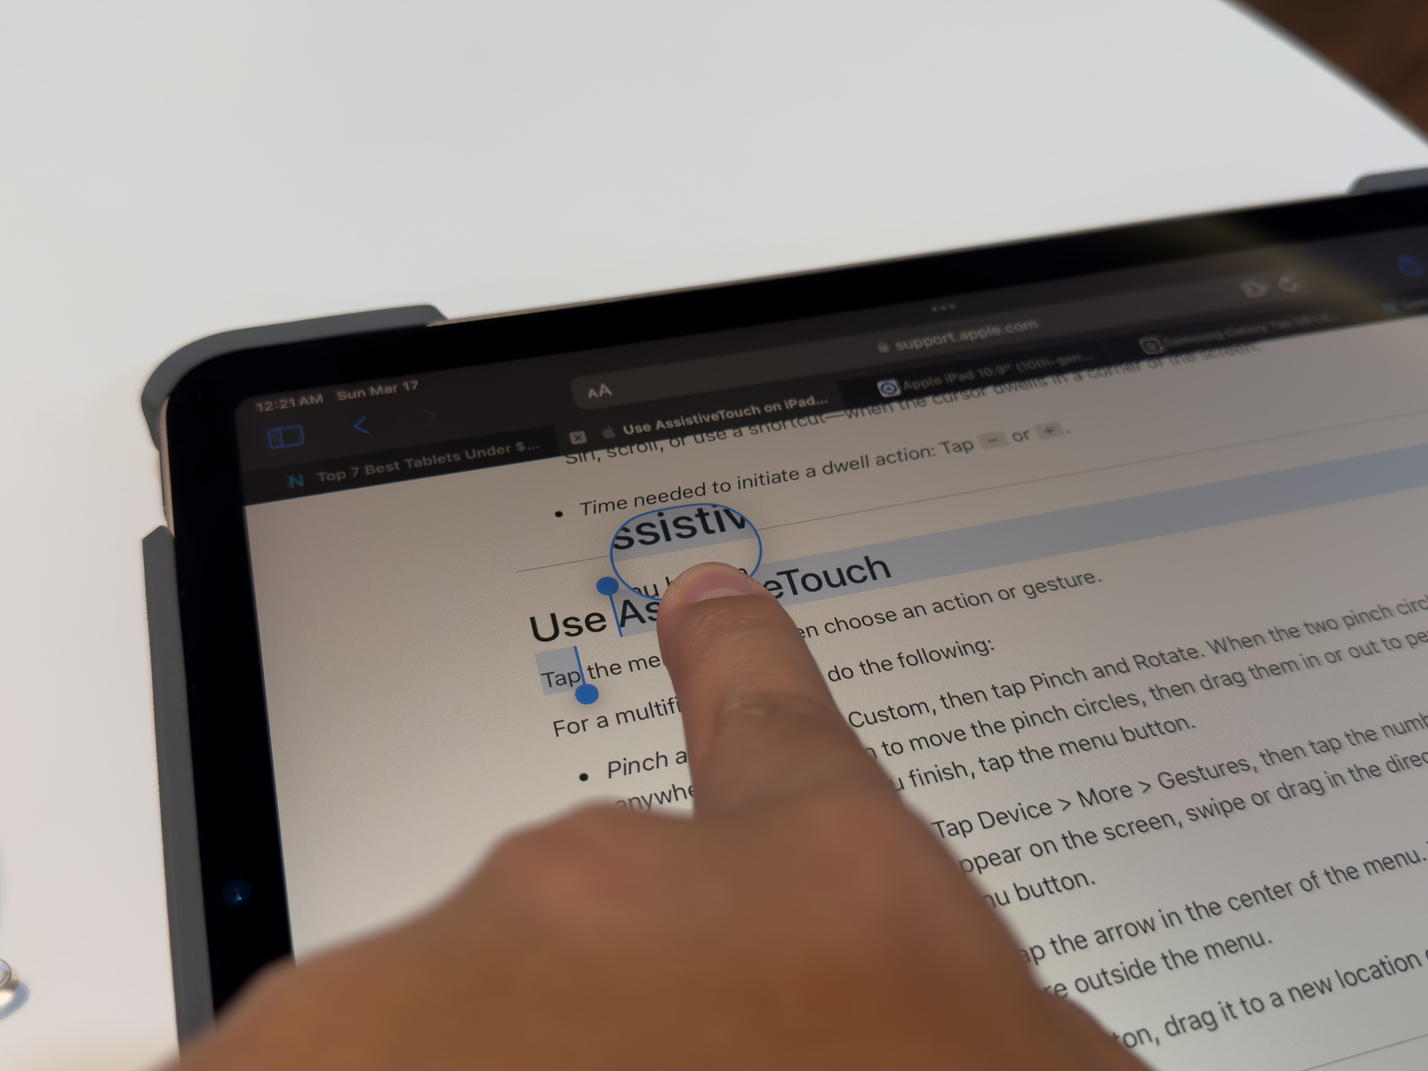
- Wait for a moment until a circular or oval outline appears.
- Tap on an option to select.

Read: Setting Up A New iPad: Very Easy Step-By-Step Guide
The Concept of Right-Click
On a computer, right-clicking is like a secret door that opens up more choices. For instance, if I’m writing an article on Google Docs and I want to paste a link, I can right-click to find the Paste option.

Now, the iPad translates this into a touch-and-hold gesture. Instead of right-clicking on my mouse, I just gently press and hold my finger on something to reveal a special menu. The cool part is that the menu changes depending on the app I use. On a browser, it will show options for links, reading lists, and share options.
Also Read: Which Apple Pencil to Get for Your iPad
iPad’s Simple Approach
The iPad thrives on touch interactions. Every tap, swipe, and pinch is a command. When you tap an app icon, you instantly launch the app. When you swipe across the screen, you scroll through photos and articles. And pinching is your cue to zoom in or out. All these make the device your direct and tactile way to interact with the digital world.
Understanding your iPad’s Touch Interface
Each app has its own options that appear when you long-press on them. This could be text editing in Notes or sharing links in Safari. We recommend you explore and experiment to discover what options are available in your favorite apps.

Here are some of the app-specific contextual menus that appear when you long-press on an item:
- Home Screen Icons: Remove App, Edit Home Screen, Share App
- Text Selection: Copy, Paste, Cut, and other formatting options
- Images and Videos: Copy, Share, Favorite, Add to Album, Delete
- Links: Open link, Edit link, Remove Link
Note: If you long-press on texts, images, and links in another app, like Safari, you’ll get a different menu.
Alternative Methods to Right-Click on Your iPad
While the long-press gesture is commonly used to simulate a right-click on the iPad, it’s not the only method available.
Here’s what I found out:
Two-finger Tapping with a Trackpad Accessory
The first alternative method for right-clicking on your iPad requires a trackpad accessory. Simply place two fingers on the trackpad and tap lightly to trigger the right-click action. As someone accustomed to using a traditional mouse, this is more precise and familiar. It closely resembles the right-click experience I’m used to.
Here are the steps to do this:
- Connect a compatible trackpad on your iPad.
- Place two fingers on the trackpad.
- Tap once to reveal the contextual menu.

Note: To do this, first make sure Tap to Click and Two Finger Secondary Click are enabled. Go to Settings, tap on General, and then Trackpad.
Also Read: How to Connect Keyboards to Your iPad
Assistive Touch: Custom Right-Click
The next alternative method uses Assistive Touch on your iPad. Assistive Touch is a built-in accessibility feature that adds a virtual, floating button to your iPad’s screen. Once activated, it allows you to effortlessly perform various handy actions. You can drag and position the translucent button anywhere, and when you take a screenshot, it won’t be captured in the image.
To enable Assistive Touch, invoke Siri and ask Siri to turn on Assistive Touch. Alternatively, you can also:
- Go to Settings.
- Tap on Accessibility.
- Select Touch.
- Turn on Assistive Touch.
- You’ll now see the virtual button on your screen.

Next, let’s customize your Assistive Touch actions.
- Tap on Customize Top Level Menu.
- Change Custom to Long Press.
- Tap on a text, image, or link.
- You should see the contextual menus.

Note: A dot will appear on your screen, representing where virtual fingertips touch. But, it will disappear after a few moments of inactivity.
Also Read: How to Set Up Your iPad
I personally prefer this method because it makes using context menus and performing actions easy. I can just tap to trigger the right-click function, making copying, pasting, and opening links effortless.
Read More: iPad Hacks & Tips: You Should Know These 14 Features & Tricks
Before You Go
Opening contextual menus can be a bit different on an iPad than on a laptop. However, once you get the hang of it, you’ll be able to work on your iPad without issues.
If you want to know more about taking full advantage of your iPad, here are some ways to enable different multitasking options, such as Split View and Stage Manager.
Leave a Reply


Best Huawei Tablets: Why I Think You Shouldn’t Get One In 2024
Considering the US embargo that led to the lack of Google support, is it a wise decision to purchase a...


11 Best Tablets With 5G, 4G LTE & SIM Card Slot in 2024
Which are the best tablets with 5G, 4G LTE and SIM card slot? I'm reviewing almost every tablet and here...


11 Best Gaming Tablets for Playing Games Reviewed | 2024 Edition
Which are the best gaming tablets for gamers? We test every new device and try out many games. Here are...


6 Best 8-Inch Mini Tablets Review & Comparison | 2024 Edition
Which is the best 8-inch tablet you can buy right now? I review all iPads, Android, and Windows tablets and...


3 Best Xiaomi Tablets Reviewed | 2024 Edition
Which is the best Xiaomi tablet? We've tested all the current models with Android and Windows. Here are our recommendations.
-

 The Best2 months ago
9 Best Tablets With Stylus Pen For Drawing & Writing | 2024 Edition
-

 The Best2 months ago
Top 10 Best Tablets with a Keyboard | 2024 Edition
-

 The Best4 weeks ago
Top 15 Best Android Tablets Based On Real Reviews | 2024 Edition
-
The Best3 weeks ago
11 Best Tablets With 5G, 4G LTE & SIM Card Slot in 2024
-

 The Best2 months ago
Top 3 Best Windows Tablets You Can Buy Today | 2024 Edition
-
The Best4 weeks ago
6 Best 8-Inch Mini Tablets Review & Comparison | 2024 Edition
-

 The Best5 months ago
Best Surface Pen Apps: 16 Must-Haves for Your Surface Pro & Go
-

 The Best2 months ago
The 8 Best Samsung Tablets: Our Big 2024 Comparison
Pingback: Why Disabling Split Screen on iPad Has Transformed My Workflow • MyNextTablet